
This tutorial was created by Rapsody on June 21st, 2012.
Any similarity to any other tutorial is purely a coincidence.
I have not used plugins or drops shadows but recommend you use them where you see fit.
You may share this tut but please share the only the link, thank you♥
I am using PSP 14 but any version should work!
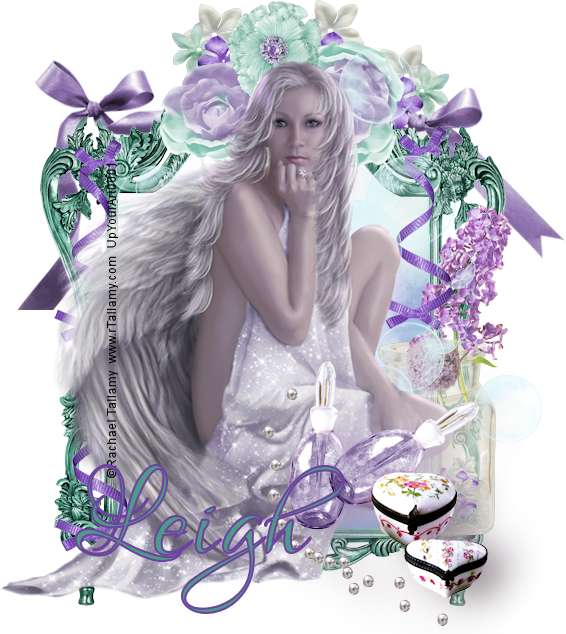
We are using the lovely art of Rachael Tallamy RT0041, you must have a license to use this tube. Rachael’s tubes must be purchased at UpYourArt
This wonderful kit “Be Mine” by Leigh Penrod can be found HERE Thank you so much Leigh!♥
Font Lover’s Quarrel which is a pay font by Rob but any font will work.
We will be using:
Tube RT0041
E20 (green frame) @ 23%
E22 (purple ribbon) @ 21%
P6
EA0032 @ 10%
E24 (long purple flower) @ 10%
E30 (round lavender flower) @ 5% mirror
E2 (purple ribbon vertical) @ 10%
E26 ( large flower) @ 6%
E18 (large flower) @ 20%
E16 (bubbles) @20%
E17 (parfum) @ 15%
E33 (flower cluster) 20%
**After you use each element close it so you have a clean workspace.
Okay, let’s get started!
*Open a canvas 700 x700 flood fill white. I like to have this layer so I can see my creation better as I work on it. We will delete this later as well as resize.
*Copy and paste E20 as a new layer, resize 23%.
*Paste E22 as a new layer, resize to 21% move to the top of the frame, move layer down under the frame.
*Add a new layer, go to the frame layer, select the inner part of the frame, go back to layer you just created and paste P6 into selection. Select none move blow the ribbon layer.
*Return to your top layer (the frame) and paste EA0032 as a new layer, resize 10% and move to the lower right of the frame.
*Paste E24as a new layer, resize 10% place so it is coming out of the vase below.
*Paste E30 as a new layer, resize 5%, mirror and place near the last flower.
*Paste E2 as a new layer resize 10% position on the side of the frame, duplicate, and move to the left side of the frame, duplicate again and move below the ribbon you just did.
*Paste E26 as a new layer, resize 6%, and move to the top left center of the frame. Duplicate, flip and move to the right of the center.
*Paste E18 as a new layer, resize and position in the center of the upper frame (between the other 2 flowers you just added.)
*Paste E16 as a new layer, resize 20% and move slightly off center to the right.
*Paste your tube as a new layer, resize 90%, mirror.
*Paste E17 as a new layer, resize 15% move to lower right, duplicate, go to the lower original and use these texture settings:
Blur 100 Density 100 Length 75 Transparency 255
*Position all where you like, close the white layer, merge visible.
*I then added E33 as new layer, resized 20% and place in several places as I saw fit under the main image, see my tag for example.
*Merge, select all, float, crop to selection.
*Add your Copyright and URL.
*Add name, I used Lover’s Quarrel at 150 with 2 colors from the tag with a slight drop shadow.